Showing posts with label painting flesh. Show all posts

Wednesday, 18 November 2009

Modern Warfare....


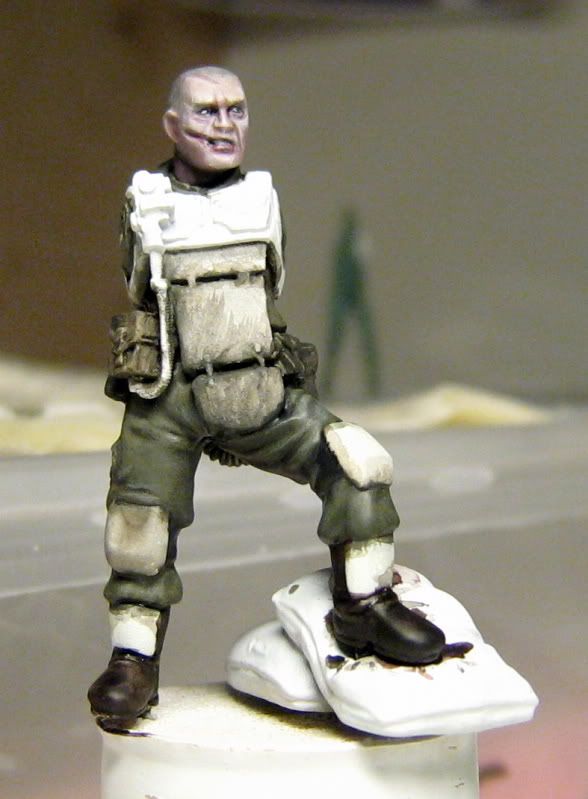
Ok, I managed to tear myself away from MW2 for long enough after recovering from illness to do some more on this chap.

I've pretty much finished the body now and have built and started painting the base. At the moment the base isn't even a third of the way done so try to imagine it with some foliage and snow!

Next up - the arms and finishing the base and weathering on the legs!

Cheers,

Dante

Saturday, 7 November 2009

Fleshing Things Out - Flesh Painting Tutorial

About time I added another post here!

As you can no doubt tell from the dodgy pun of the title (sorry!), this post is concerned with the method I use to paint human flesh.


I've received a lot of questions on forums lately asking me about the recipe's and methods I use to paint flesh (specifically caucasian flesh), so I thought rather than reply every time with the same response, I would put together a short (text heavy for the time being - not had a chance to do step by step pics yet) tutorial.

Prep Work

With any painting project, it is always worth doing some good preparation to ensure that you don't make any mistakes etc that you would have to correct later, or that could frustrate you/ruin the look of the finished figure.

The first thing worth doing when painting flesh is to look at reference pictures. Skin tone's vary from person to person, regions and climates. The picture below is a perfect example of this - notice that even among caucasian people, the tones can be quite different.


Paint Selection

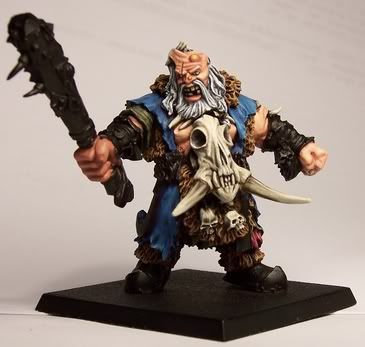
While most paint manufacturors make "flesh" colours, and these can be good for painting armies in a quick fashion, often they are quite orangey, or pinkish in appearance, leading to an un-natural looking figure (for example the skin on my old ogre hunter below (2004), while nice enough, doesn't look very realistically human).


Therefore, for my current method of painting flesh, I like to look to other, more realistic looking tones for skin.

Base Colour

My current colour of choice as a base for all caucasian flesh is Games Workshop's Dheneb Stone paint from their foundation range. A nice "off-tan" colour, it also has the added benefits of great coverage, thins well and takes paint and washes over it very well.


Shades

The colours used for shading flesh go a long way to helping define the mood, character and overall look of your finished figure. Greener shades can be used to create sickly looking characters, while red and pink shades can help define a healthy, "softer" looking character.

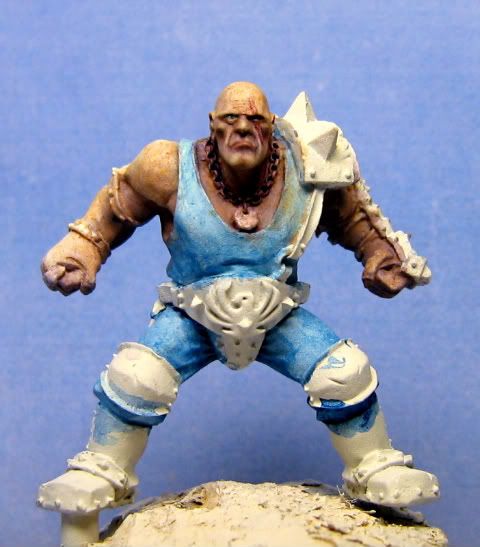
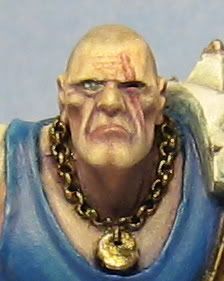
While the shades I use for painting flesh are dependent upon the figure for the reasons outlined above, most commonly I use a mix of Vallejo Warlock Purple from their Game Colour range, and Charadon Granite, again from Games Workshop's foundation range, along with a little Dheneb Stone mixed in. The figure in the picture below has had the above mix applied over a Dheneb Stone base.


Toning

Beyond simply shading the flesh on your figure, it's also a good idea to add some toning in order to add a bit more interest to the skin. On the Cadian stormtrooper I'm working on at the moment for example (pictured at the start of this post), I have added some toning to the face using a mix of Baal Red and Devlan Mud washes from Games Workshop mixed with a little Vallejo Matt Medium (to remove the shine). The reason for this is that the figure will be set in a winter scene and I wanted a cold look to the face, hence the pink cheeks.

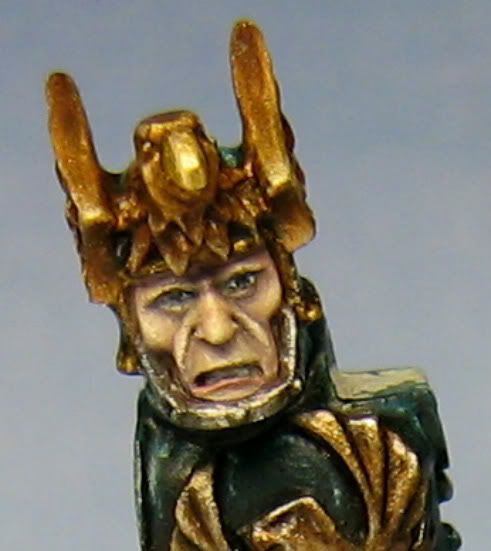
While this isn't an immediately noticeable effect that can be picked out on it's own, it adds considerably to the overall appearance of the mini. On Griff Oberwald's face (below) for example, toning was applied using a darker purpleish tone to make him appear aged.


Highlights

For highlights, as always it is simply a case of lightening the base colour. In this case, Dheneb Stone is first re-applied in a few thin coats to build a base for the highlights. Following this, P3 Menoth White is added to Dheneb Stone in increasing quantities for a few stages of highlighting. There is no definitive placements for highlights as it very much depends upon the figure, look you are aiming for etc, however as a general rule, the areas to focus upon are the brow, tip of the nose, tops of the cheeks and the tip of the chin.


Application

In order to replicate the translucent qualities of real human skin, the shades and highlights are best applied in very thin layers. Thin the paint until it is almost was like in consistency, get some on your brush, then dab the side of the brush lightly against a tissue a few times until most of the moisture is removed and then apply.

Hopefully that covers the main thrust of how I approach painting flesh. As with anything, there are many approaches that can be taken, this is the one that works for me, but you might find something else more suitable to your own style. Above all, don't be afraid to experiment with colours, tones and techniques to get the effect you desire.

Would love to hear your comments on your own experimentation and techniques for painting flesh.