

Recently I was asked by Hushrong, a fellow member of the Painting and Modelling forums on Warseer:
can i ask what kind of brush you use for the close detail? i have the fine detail brush from citadel since it was the smallest one i could find but is that good enough for doing eyes?It's a good question as a lot of folks struggle to find a brush that's right for them for doing fine detail work such as eyes, leading some to simply leave the eyes of a model un-painted, or resulting in the "thousand yard stare" of an intensely frayed veteran who's seen one too many armour saves come up 1!
 If your having similar problems yourself, don't feel down, everyone starts out much like this, it's simply a case of developing good brush control, through practice, to enable you to get the paint in the right place, and using the right equipment for the job.
Personally, I use W&N series 7 brushes for my detail work (size 000 for eyes, size 00 for most other stuff). W&N brushes are considered some of the top brushes and really are deserving of this title as they maintain a perfect point (with proper care) for a long time (I've had mine since January and they're still like new).
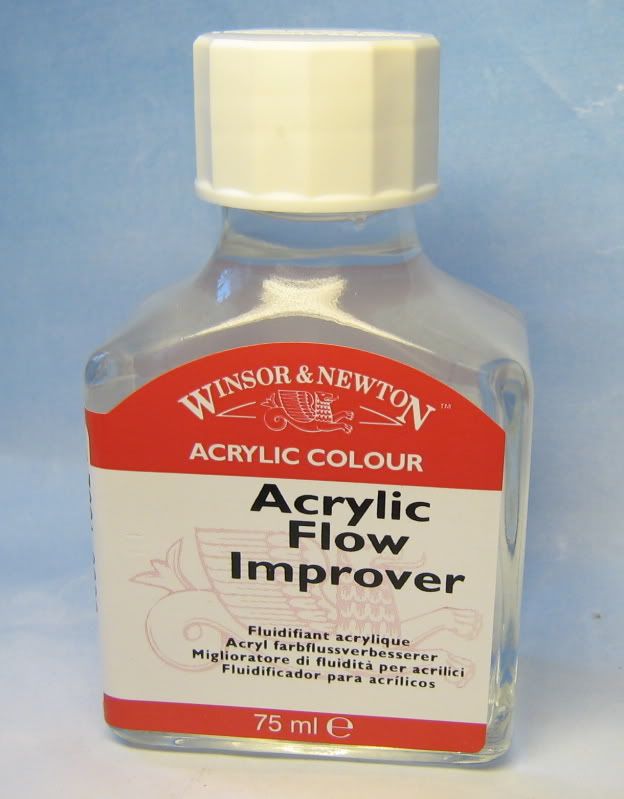
For eyes, the other thing I have found is that white and black are both colours that can dry out quickly on the brush when in the small quantities required for such small detail work. Therefore, for the last few months I've been using W&N Flow Improver. This stuff basically makes the paint go on so much easier and with so much more control, without diluting the strength of the colour (like water would), and without making the colour take forever to dry (like drying retarder would).
It's also good stuff for any awkward colours and for freehand. Best of all, you get a pretty big bottle which lasts a long time.....unless you spill some of it on your desk a day after getting it (doh!:o).
When I paint eyes, I find as large a part of the process as any is simple patience. Regularly I will rework the eyes 2 to 3 times before I have them just right.
Also, you will want to think about at what stage you paint them in relation to the areas around them, most commonly the rest of the skin on the face, but sometimes masks, helmets etc can get pretty close, within "splash range" (where you might slip and fudge up the adjoining area). Typically, I like to paint the eyes in after I have reached a mid point in painting the flesh of the face. This way, if you do mess up a bit when putting the colours for the eyes in, you don't have as many layers of colour to re-do.
The process I use for painting eyes is:
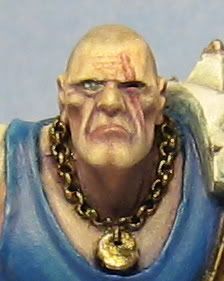
- Paint the sockets with a very dark brown, almost black, but not totally black as this can look a little unrealistic. The hint of brown takes the edge off a bit and makes them fit better with the flesh of the face. For me, this will typically be a mix of GW Scorched Brown and Vallejo Black, but any mix to make an almost black brown will be fine. Think of this step as eventually representing the eye lashes of the eye.
- Paint the whites of the eyes in using an off white, being careful to leave a thin line of the above step around the edges of the socket. I use P3 Menoth White highlight (a creamy white), but again, any will suffice. The reason for using off white is for the same reason we didn't use pure black above. Real eyes aren't brilliant white anyway so it adds to the realism.You can play about here if you are so inclined, and depending on the model, to get different expressions. By leaving more of a top "eye lash" line on a female model, you can simulate make up and a sultry appearance.
- Finally, add the pupils with a very dark grey, again, almost but not quite black. For this I use Vallejo Dark Grey mixed with a tiny amount of Vallejo Black. When applying, try to keep the pupils equally positioned on the eyes, both pointing in the same direction. To make the eyes really pop, I like to add a tiny highlight to the pupils (if possible depending on the figure) with a tiny dot of a slightly lighter grey (normally Dark Grey on it's own, sometimes with a little Basalt Grey mixed in).
That's pretty much it! Again, don't be afraid to go back and re-work things to get them right. I normally find it takes a few attempts to get things like both the pupils looking equidistant and in the same direction.
Have fun!
Another really fantastic set of subtle details I think a lot of people can learn from. You're really making me want to paint unarmored models again Dante!
ReplyDeleteCheers mate! Also, thanks for re-publishing to
ReplyDeleteThe Painting Corp Facebook account!
Faces are the most fun part of painting in my opinion. You can get them done pretty quickly to a great level and its so much fun trying out different expressions etc to convey the character. Obviously the eyes are a big part of that as it's where we naturally look first on any face, so getting them right is worth the effort.